


For detailed information, other images and documents, please select individual articles from the following table.


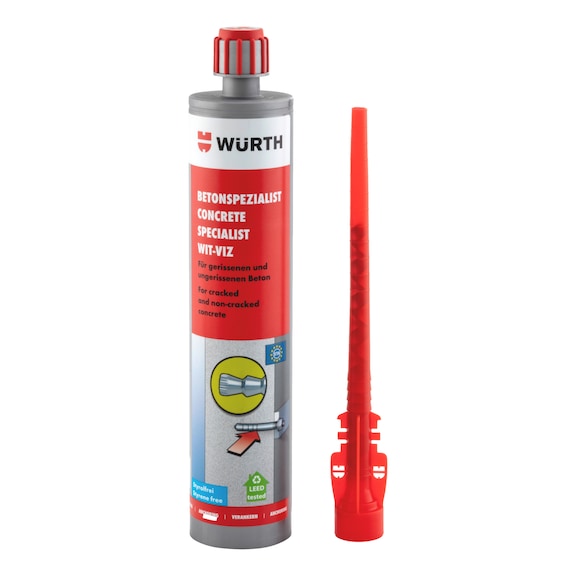
Concrete specialist injectable mortar WIT-VIZ
Composite mortar for extreme loads in concrete (injection systems F-VIZ) and fatigue-related influences (injection system W-VIZ dynamic)

Register now and access more than 125,000 products


Variants
- 2-component reactive resin mortar, styrene-free
- 150 ml, 330 ml and 420 ml cartridges can be reused by replacing the mixer nozzle or by resealing with the sealing cap
- Individual fixing point, cracked and uncracked concrete: Anchor rod W-VIZ-A or internally threaded sleeve W-VIZ-IT
- Individual fixing point, dynamic: Anchor rod W-VIZ-A dynamic and W-VIZ-AV dynamic
- European Technical Assessment ETA-04/0095: Chemical injection mortar WIT-VIZ + anchor rod W-VIZ-A or female thread sleeve W-VIZ-IG
- General technical approval Z-21.3-1909: Injection mortar WIT-VIZ + anchor rod W-VIZ-A dynamic Seismic performance category C1 and C2 (W-VIZ-A M10 to M24)
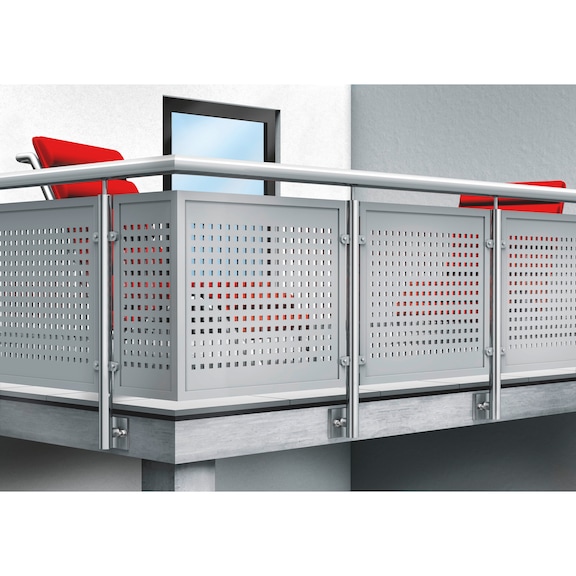
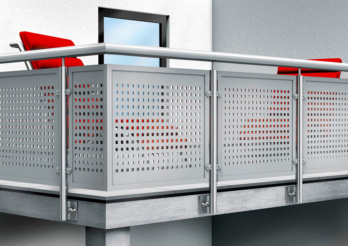 Fastening of railings
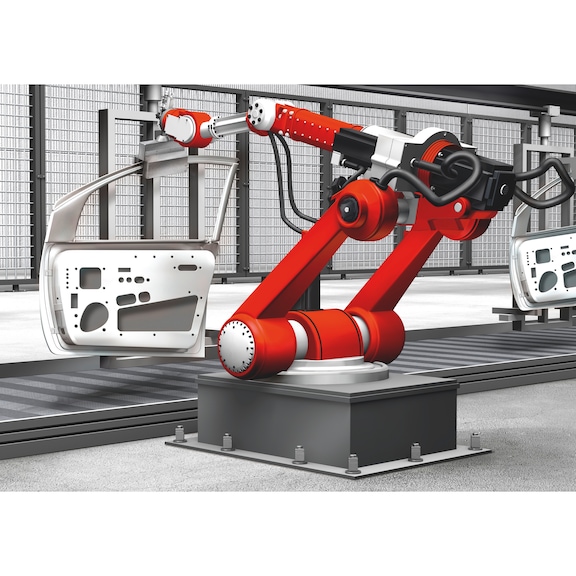
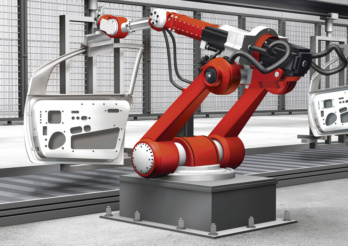 Robot systems (fatigue-related influences)
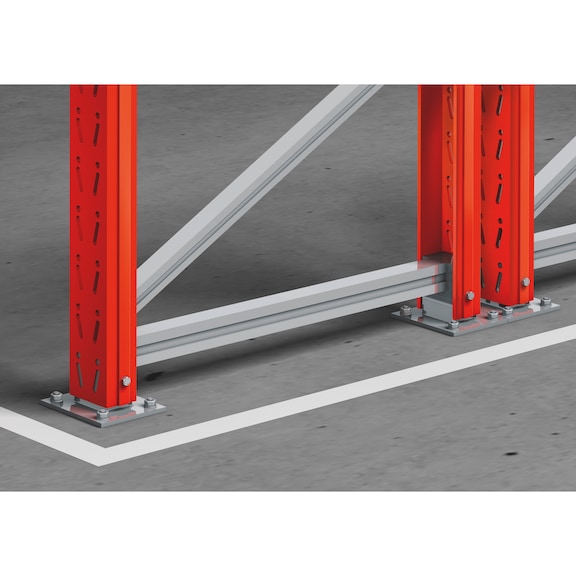
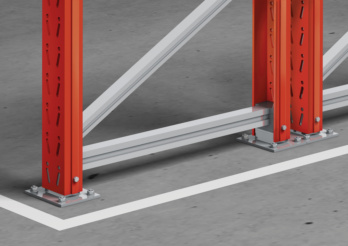 High bays
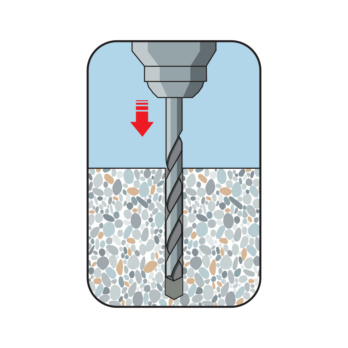
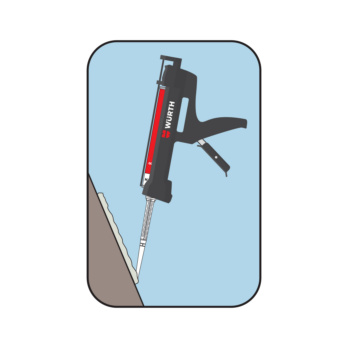
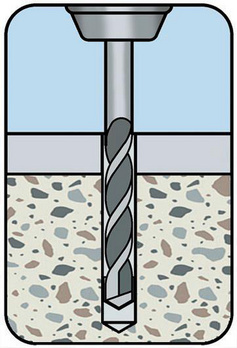
Create the drill hole
From W-VIZ M10:
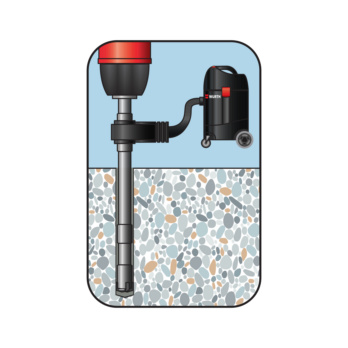
Make the drill hole with the Würth hollow drill bit. Hole cleaning can be dispensed with
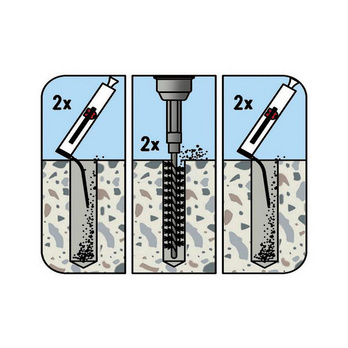
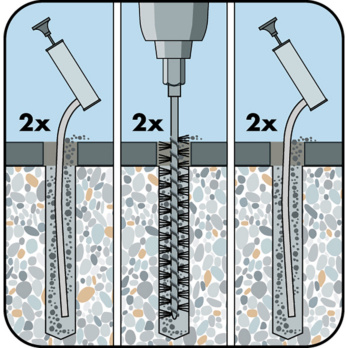
Clean the drill hole
2x blow out, 2x mechanical brush out, 2x blow out
Blow out with compressed air from M20 drilled hole
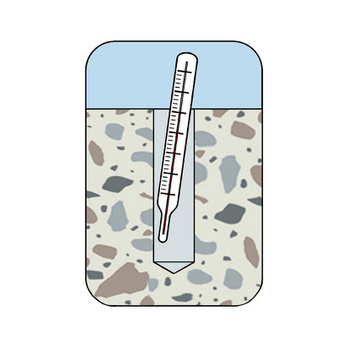
Measure temperature
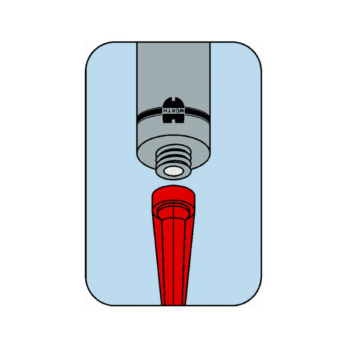
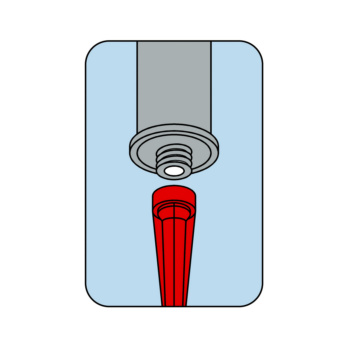
Screw mixer onto cartridge
Discard the first section of mortar (until the mortar is uniformly coloured - approx. 10 cm)
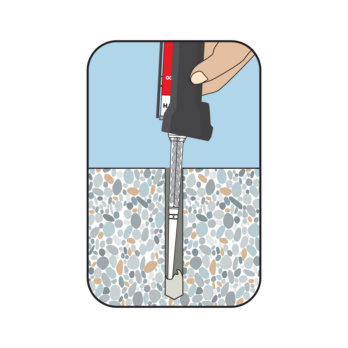
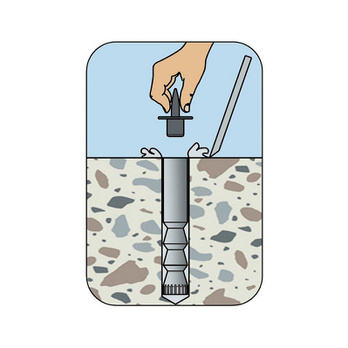
Fill injection mortar starting from base of drill hole
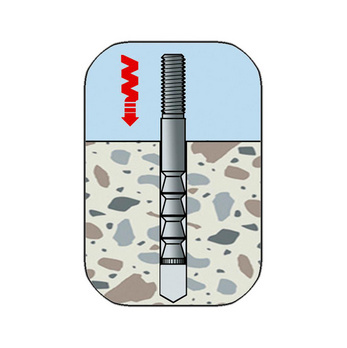
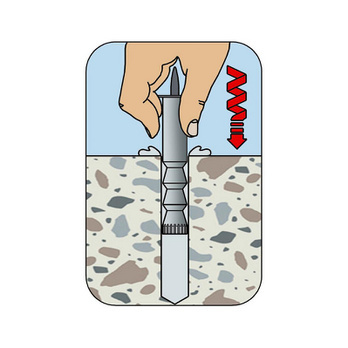
Press in anchor rod up to drill hole base while turning slightly
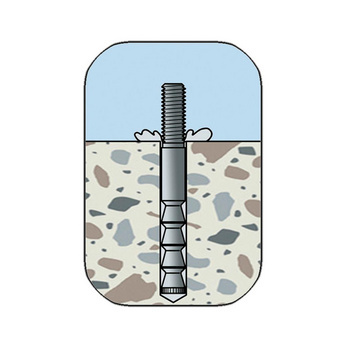
Visual check of mortar filling quantity, setting depth marking
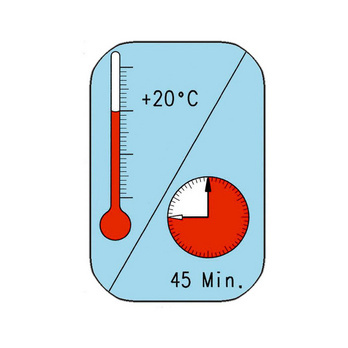
Observe the injection mortar curing time
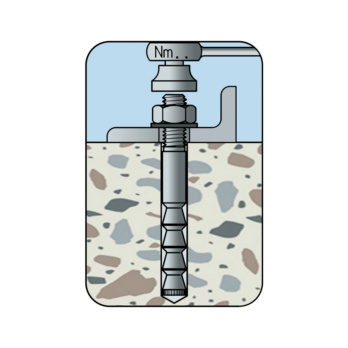
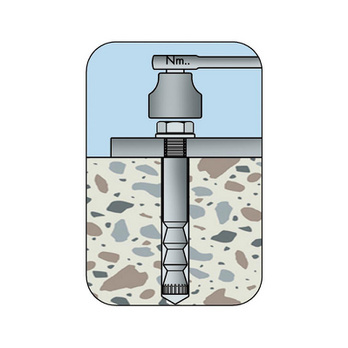
Install component, apply installation torque
Create the drill hole
From W-VIZ M10:
Make the drill hole with the Würth hollow drill bit. Hole cleaning can be dispensed with
Clean the drill hole
2x blow out, 2x mechanical brush out, 2x blow out
Blow out with compressed air from M20 drilled hole
Measure temperature
Screw mixer onto cartridge
Discard the first section of mortar (until the mortar is uniformly coloured - approx. 10 cm)
Fill injection mortar starting from base of drill hole
Push in female-thread anchor while turning slightly
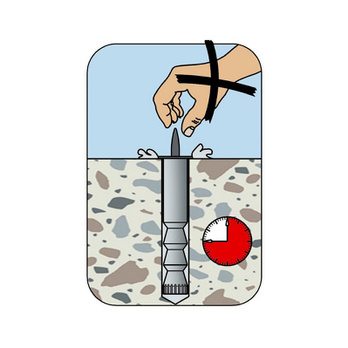
Carry out visual check and comply with composite mortar hardening time
Remove extruded mortar and protective cap
Install component; maximum torque may not be exceeded
Create the drill hole
Clean drill hole (blow out 2 x, brush out mechanically 2 x, blow out 2 x), with M20 and larger, blow out with pneumatic air (pneumatic air nozzle)
Screw mixer onto cartridge
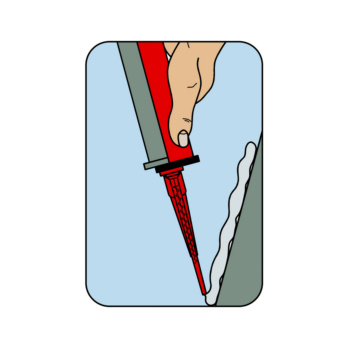
Before use, press out approx. 10 cm cord. Do not use this initial mortar!
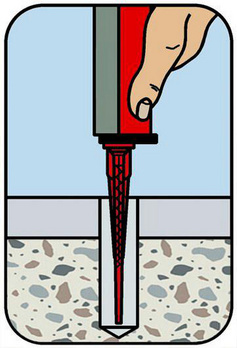
Fill injection mortar starting from base of drill hole
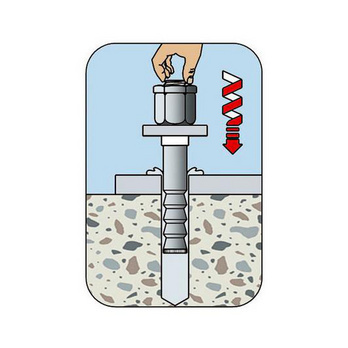
Press in anchor rod up to drill hole base while turning slightly
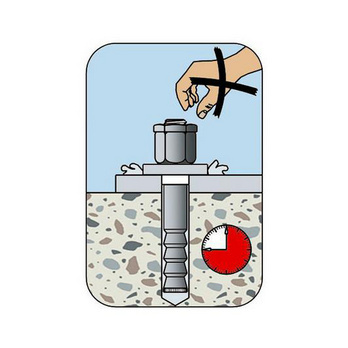
Observe the injection mortar curing time
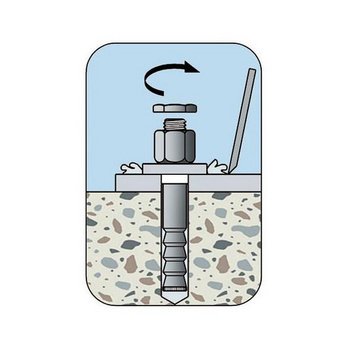
After the hardening time, remove extruded mortar
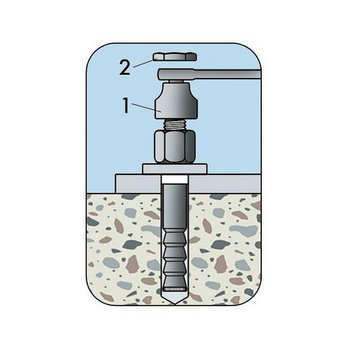
1. Apply installation torque
2. Screw on the locking nut, then tighten with a wrench ¼ to ½ a turn
- European Technical Assessment ETA-04/0095: Chemical injection mortar WIT-VIZ + anchor rod W-VIZ-A or female thread sleeve W-VIZ-IG
- General technical approval Z-21.3-1909: Injection mortar WIT-VIZ + anchor rod W-VIZ-A dynamic Seismic performance category C1 and C2 (W-VIZ-A M10 to M24)
- Anchor rod W-VIZ-A: Railings, metal structures and profiles, brackets, supports, steps etc.
- Anchor rod W-VIZ-IG: Railings, metal structures and steps etc.
- Anchor rod W-VIZ-A dynamic: Slewing cranes, crane runways, ventilation fans, welding robots, conveyors, street signs, etc.
Select RAL-colour code
!! NOTE: On-screen visualisation of the colour differs from real colour shade!!